How to Install Memory in Your Desktop PC
One of the simplest hardware upgrades you can do to make your computer feel snappier is to upgrade your memory.
Over the years, operating systems like Windows, software like Photoshop, and now even web browsers like Chrome, have built reputations for being unabashed memory hogs. Older PCs, meanwhile, often have between 2GB and 4GB of memory. Loading too many tabs in Chrome or keeping too many programs open on your desktop could use up all of the memory your system has to offer, slowing your system to a crawl.
If your PC’s feeling pokey when you have a lot going on, consider upgrading your RAM. A mere 4GB could work if you’re sticking to light tasks and not using chrome, but 8GB is really the minimum we would recommend for a modern desktop PC, and 16GB is the sweet spot for most people consider its modest price increase from 8GB (though you should probably buy RAM soon to avoid rising costs). Gamers with an eye towards future-proofing might even want to consider 32GB—the downside being increased cost, of course.
RAM buying considerations
There are different types of RAM. Most modern PCs use DDR4 memory, but the older systems may require DDR3 or even DDR2. We may even see DDR5 modules appear in the next year or two, but for now, DDR4 is king.
It’s also important to consider the speed of the RAM you’re buying in addition to the capacity of the memory kit. Out of all the memory bandwidth testing done over the past decade, the only thing these tests have consistently shown is that there's very little benefit to purchasing the fastest RAM possible. Most people should look past the flashy 5,000MHz kits and focus on the price/performance sweet spot: DDR4 clocked at 2,666MHz to 3,600MHz. Opt for a RAM kit that comes in two modules rather than single-stick or quad-channel offerings if you can.

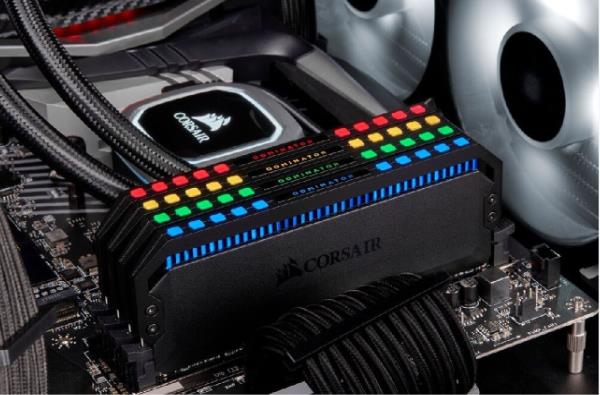
The next issue to consider is brand. There are a lot of memory brands available, like Corsair, G.Skill, Kingston, KLEVV, Patriot, ADATA, Crucial, PNY, Super Talent, Mushkin, and others. The biggest difference between these brands is the design of the heat sinks on the RAM modules. Pick the memory that has the best compromise between an appearance you like and a price you can stomach. You'll find ongoing debates about the reliability of different brands, but on the balance, all big-name RAM manufacturers provide very solid products.
How to install RAM in your PC
With the buying considerations out of the way and 16GB of DDR4 memory freshly delivered to your doorstep, it’s time to install your new RAM. It's a quick and rather painless task—assuming you’ve done all your homework.
First, shut down your computer and unplug all of the cables connected to it. Then remove the side of the computer case so you can access the motherboard.
The RAM slots are adjacent to the CPU socket. Look for the big heat sink at the top of the motherboard, and you'll see either two or four memory slots next to it.

These are the motherboard slots you insert your RAM into.
Before you can install the new memory you’ve purchased, you have to remove the old kit. Start by toggling the plastic retention clips at either end of the memory slots so you can pull out the old RAM.

Release the toggles at the end of the RAM channel in order to remove your old memory.
While you're there, remove any dust from the memory slots, either by blasting the area with compressed air or by vacuuming gently.
Now it’s time to put in the new RAM kit. Make sure the memory module is correctly oriented: The notch in the bottom edge of the RAM must match up with the rise in the memory slot. If you're not filling all the available RAM channels, read your motherboard's manual to see which specific slots you should fill first. Placing RAM in the incorrect slots could result in some performance degradation.

Make sure the notch in the bottom edge of your RAM modules matches up with the rises in the memory channel on your motherboard.
Now that you’ve seated the RAM in the slot, toggle the plastic retention levers to lock your new memory modules in place.

Snap the channel's toggle closed again to lock in your RAM.
Finally, close up your computer case, plug everything back in, and turn on your computer. It may take a couple of restarts for your motherboard to recognize and adjust to the new memory you’ve installed—so don’t panic if your computer is acting funny at first. Let it run for a few minutes, then restart it and everything will be back to normal.
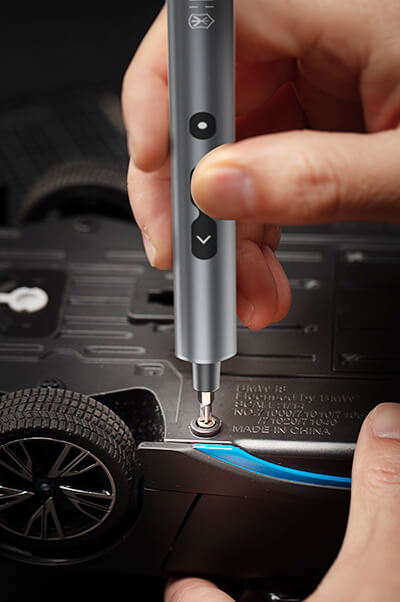
If you are looking for a professional screwdriver manufacturerto customize your precision screwdriver set, feel free to contact us today! We provide high-quality, customizable toolsfor various repair needs.